Available
Available

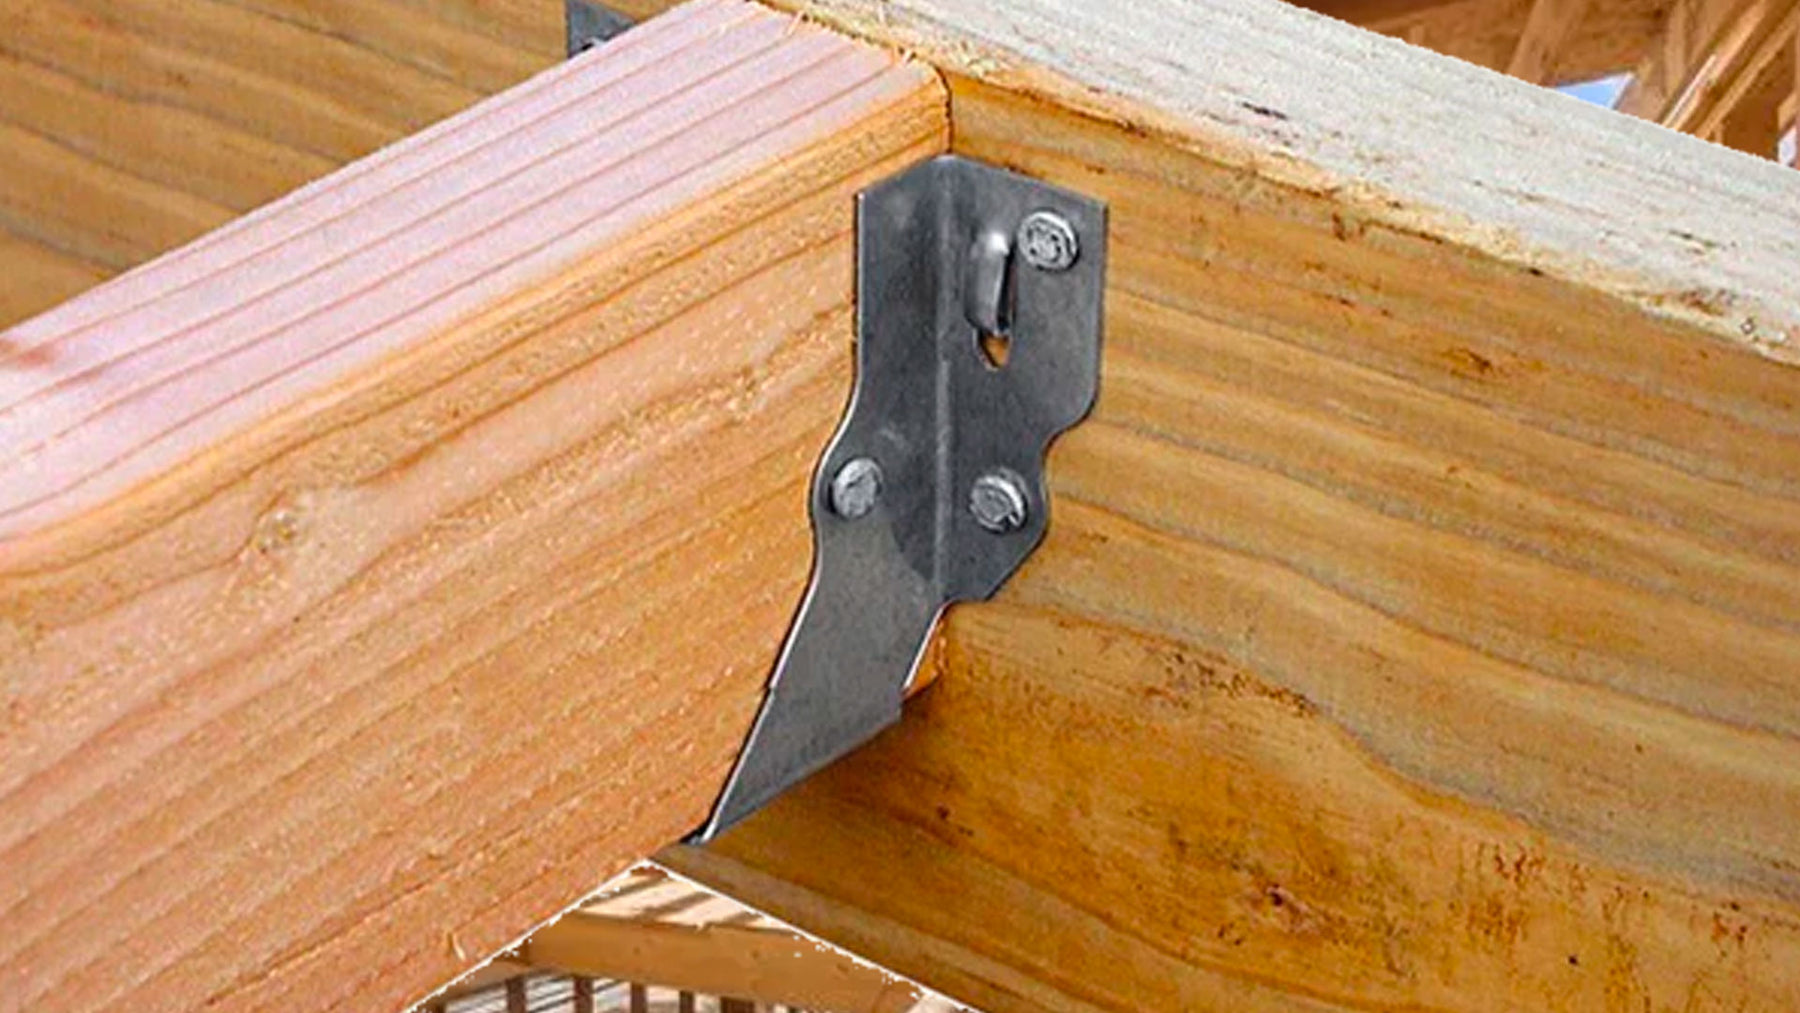
Installing joist hangers is a fairly straightforward process, but it is important to follow the manufacturer's instructions and any applicable building codes to ensure that the hangers are installed correctly and can safely support the weight of the joists. Here are the general steps for installing joist hangers:
Determine the location of the joists: Use a measuring tape to determine the spacing of the joists and mark their locations on the ledger board or header.
Choose the appropriate joist hanger: Select the appropriate type and size of joist hanger for the joist size and the load that it will be supporting.
Position the joist hanger: Position the joist hanger on the ledger board or header so that the bottom of the hanger is flush with the bottom of the joist.
Attach the joist hanger: Use nails or screws to attach the joist hanger to the ledger board or header. Be sure to use the recommended type and size of fastener and to drive them in straight to avoid bending the hanger.
Install the joist: Insert the joist into the hanger and make sure that it is securely seated in the hanger. Use nails or screws to attach the joist to the hanger, following the manufacturer's recommended fastener schedule.
Repeat the process: Repeat the process for each joist, making sure that they are spaced evenly and securely attached to the hangers.
Check for level: Use a level to check that the joists are level and adjust as needed.
Inspect the installation: Inspect the installation to make sure that the joists are securely attached to the hangers and that the hangers are securely attached to the ledger board or header.
By following these steps and any additional instructions provided by the manufacturer or building codes, you can ensure a safe and secure installation of joist hangers.